If you’ve ever found yourself with a flooded basement or a sump pump that sounds more like a dying lawn mower than a piece of plumbing equipment, you already know how important this little device is. Understanding how to fix a sump pump can save you from costly water damage, unnecessary stress, and even the headache of trying to dry out your storage boxes for days. At Lance Maxwell Plumbing, we’ve seen every type of sump pump problem imaginable, from power failures to mysterious rattling noises, and we’re here to help you get yours back on track. Let’s walk through your step-by-step guide to diagnosing and fixing a sump pump before things get soggy.
Understanding What a Sump Pump Does
Before you grab your toolbox, let’s make sure we’re on the same page. A sump pump is a small, yet powerful device installed in the lowest part of a basement or crawlspace. Its job is simple but essential: it keeps your space dry by pumping out water that collects in the sump basin and directing it safely away from your home. When it’s working properly, it’s a hero you rarely think about. When it’s not, it’s the villain that ruins your weekend plans.
Step 1: Safety First
Before you even touch your sump pump, take a minute to think about safety. Water and electricity are not a mix you want to experiment with. Always unplug the sump pump before inspecting it. If the area is flooded, shut off power at your home’s breaker panel to avoid electrical hazards. Use rubber boots or a pair of insulated gloves if you need to get near standing water.
Step 2: Check the Power Source
One of the most common reasons a sump pump stops working is also one of the easiest to fix: it’s not getting power. Check the outlet to ensure it’s functioning. Plug another small appliance into the same outlet to verify. If the outlet is dead, check your breaker box. Sometimes, simply flipping a tripped circuit back on solves the issue. If your pump uses a GFCI outlet, try pressing the reset button. A storm or even humidity can cause these outlets to trip.
Step 3: Inspect the Float Switch
The float switch is the sump pump’s trigger mechanism; it tells the pump when to turn on and off based on water level. If this switch gets stuck, your pump might not activate when it should. Check to see if the float moves freely up and down. Sometimes debris or tangled cords can restrict its movement. Clear the area around the float and test it by manually lifting it up. If the pump activates, you’ve found your problem. If not, it’s time to move to the next step.
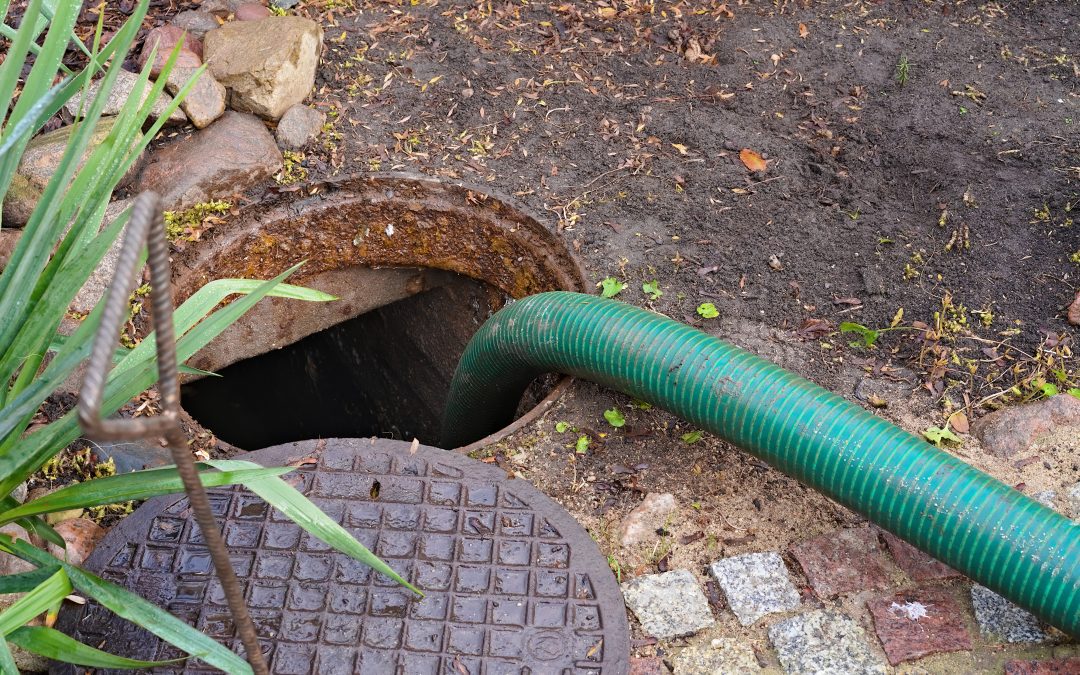
Step 4: Examine the Discharge Pipe
Your sump pump could be doing its job perfectly, but if the discharge line is clogged or frozen, the water has nowhere to go. Check the discharge pipe for any blockages such as mud, rocks, or ice (depending on the season). Make sure the line leads away from your home’s foundation. You can test it by pouring water into the sump pit and watching where it exits. If it’s not flowing freely, you’ll need to clean or replace the section of pipe causing the issue.
Step 5: Clear Out the Sump Pit
Over time, debris like dirt, gravel, and silt can accumulate in the sump pit. This buildup can clog your pump’s intake or cause the float switch to jam. Unplug the pump, remove it from the pit, and use a wet/dry vacuum to clean out any sludge or foreign material. Once it’s clean, inspect the bottom for signs of corrosion or damage. A clean pit helps your pump work efficiently and prevents burnout.
Step 6: Inspect the Check Valve
The check valve is what prevents water from flowing back into your sump pit after it’s been pumped out. When this valve fails, your pump may run continuously or cycle too frequently because it’s fighting the same water over and over. Check for arrows on the valve body; they should point away from the sump pit (toward the discharge line). If the valve is installed backward, you’ll need to correct it. If it’s stuck or damaged, replace it. These valves are relatively inexpensive and easy to install.
Step 7: Listen for Unusual Noises
A healthy sump pump hums quietly in the background. If yours sounds like it’s trying to audition for a horror movie, pay attention. Grinding, rattling, or screeching noises could indicate worn bearings, a jammed impeller, or loose parts. If you’re comfortable doing so, remove the pump housing to check for debris caught in the impeller. Clean it out carefully, ensuring everything spins freely. If the noise persists, it might be time for a replacement motor or a call to a professional plumber.
Step 8: Test the Pump Operation
Once you’ve cleared blockages and checked the key components, it’s time for a test run. Reconnect the power and slowly pour a bucket of water into the sump pit. The float should rise, activating the pump, and water should discharge efficiently through the pipe. If it runs smoothly and shuts off automatically once the pit is empty, congratulations, you’ve fixed your sump pump! If not, the issue might be more complex, such as a malfunctioning motor or wiring problem.
Step 9: Know When to Call a Professional
Even the most skilled DIYers have their limits. If you’ve gone through the checklist and your sump pump still won’t cooperate, it’s time to call in the pros. Persistent electrical issues, repeated tripped breakers, or constant cycling could point to deeper mechanical or electrical problems. Professional plumbers have specialized tools to diagnose these issues quickly and safely. Plus, attempting advanced repairs without proper experience can void warranties or make matters worse.
Preventive Maintenance Tips
Once your sump pump is back in action, don’t wait for the next storm to check it again. Preventive maintenance can extend the lifespan of your pump and keep your basement dry. Test your pump every few months by pouring water into the sump pit to ensure it activates properly. Clean the pit at least twice a year, preferably before and after the rainy season. Inspect the discharge pipe and check valve periodically to confirm they’re in good shape. If you live in an area prone to power outages, consider installing a backup battery system to keep your pump running when you need it most.
Common Sump Pump Problems and How to Spot Them
- Pump runs continuously: This often happens when the float switch is stuck or the check valve has failed.
- Pump doesn’t start: Usually a power or float switch issue, but sometimes a burned-out motor.
- Pump runs but doesn’t discharge water: Likely a clogged or frozen discharge line.
- Pump is noisy: Debris in the impeller or worn bearings could be to blame.
- Frequent on-off cycling: Water is flowing back into the pit due to a faulty check valve or improper discharge setup.
Recognizing these symptoms early can prevent costly repairs and water damage down the line.
Choosing the Right Replacement Sump Pump
If your sump pump is more than 10 years old, it might be nearing the end of its service life. When replacing it, consider the following:
- Horsepower: Most residential sump pumps range from 1/4 to 1 horsepower. A higher horsepower model moves more water but may cost more to operate.
- Material: Cast-iron pumps tend to last longer than plastic ones because they dissipate heat more efficiently.
- Switch type: Mechanical float switches are reliable, but electronic sensors can be more precise.
- Backup system: A battery or water-powered backup ensures protection during power outages.
Choosing a quality model from a trusted brand can save you future headaches and money. Lance Maxwell Plumbing proudly offers top-tier sump pump products from brands like Delta, Kohler, and Moen.
Call the Experts at Lance Maxwell Plumbing
Whether you’re knee-deep in basement water or just want peace of mind before the next big storm, Lance Maxwell Plumbing is your trusted Jacksonville plumber for all your sump pump. Contact us today to learn more!