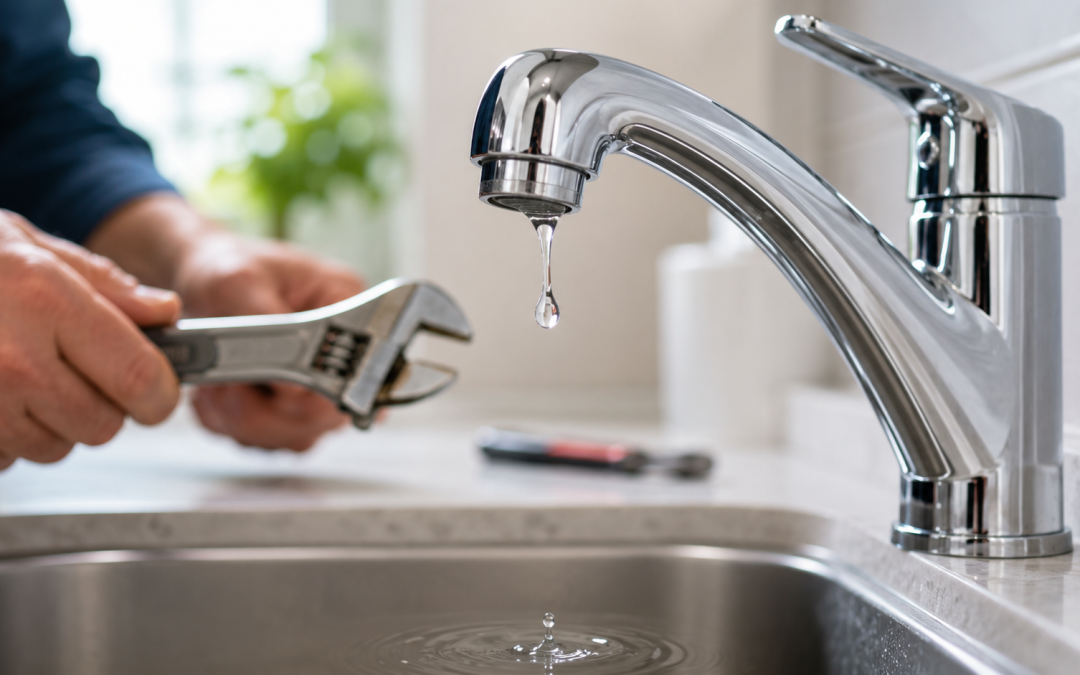
A dripping faucet can be more than a small household annoyance, especially when that steady “plink, plink, plink” keeps going long after everyone should be asleep. If you have been wondering how to fix a dripping faucet, the good news is that many faucet leaks come from common, fixable issues like worn washers, damaged cartridges, loose parts, or mineral buildup. The not-so-good news is that ignoring the drip can waste water, raise your utility bill, and eventually lead to more serious plumbing problems. Even a slow drip can add up over time, which means that tiny leak may be quietly working harder than anyone in the house. With the right tools, a little patience, and a basic understanding of your faucet type, you may be able to stop the drip before it becomes a bigger headache.
Why Is Your Faucet Dripping?
A faucet usually drips because one or more internal parts are no longer creating a tight seal. Over time, washers, O-rings, valve seats, cartridges, and seals can wear down from repeated use. Hard water minerals can also collect inside the faucet, making it harder for parts to move smoothly or close completely. In some cases, the faucet may simply have a loose handle or connection that needs tightening. Before you grab a wrench and start turning things, it helps to understand what kind of faucet you have and where the leak is coming from.
The location of the drip can give you a useful clue. If water drips from the spout when the faucet is off, the problem is likely inside the faucet body, such as a worn washer, cartridge, or valve seat. If water leaks around the handle, the issue may involve an O-ring, packing nut, or seal. If water collects under the sink, the problem could be with the supply line, shutoff valve, or connection point. Finding the source first can save you time and prevent the classic DIY moment where one small repair somehow turns into three trips to the hardware store.
Tools and Supplies You May Need
Before starting, gather the tools and parts you are likely to need. Having everything ready will make the repair smoother and help you avoid leaving the faucet half-disassembled while you search for a missing screwdriver. Not every faucet requires every tool, but most dripping faucet repairs use a similar basic setup. If your faucet has specialty parts, bring the old component with you when buying a replacement so you can match it correctly. Faucet parts often look similar, but even a small size difference can keep the repair from working.
Common tools and supplies include:
- Adjustable wrench
- Flathead screwdriver
- Phillips screwdriver
- Allen wrench
- Replacement washers
- Replacement O-rings
- Replacement cartridge, if needed
- Plumber’s grease
- Needle-nose pliers
- Towel or rag
- Small container for screws and parts
- White vinegar for mineral buildup
- Flashlight
A towel is especially helpful because small screws have a strange talent for rolling into the least convenient places. You can place the towel in the sink basin to protect the finish and keep tiny parts from disappearing down the drain. A small container also helps keep everything organized as you remove pieces in order. If you are working with an older faucet, take photos as you disassemble it so you can remember how everything fits back together. This simple step can make reassembly much easier.
Step 1: Turn Off the Water Supply
The first and most important step is to turn off the water supply before taking the faucet apart. Look under the sink for the shutoff valves, usually located on the hot and cold water supply lines. Turn the valves clockwise until they are fully closed. After shutting off the water, turn the faucet on to release any remaining water and pressure in the lines. This prevents water from spraying when you remove faucet parts.
If the shutoff valves are stuck, do not force them too aggressively. Older valves can break, especially if they have not been used in years. A little gentle pressure may be fine, but if the valve will not move or starts leaking, it may be time to call a professional plumber. You should also avoid taking the faucet apart if you cannot shut the water off completely. A dripping faucet is annoying, but an unexpected under-sink fountain is much worse.
Step 2: Plug the Drain and Protect the Sink
Once the water is off, plug the drain or cover it with a towel. This keeps screws, clips, springs, and other small parts from falling into the drain. Faucet parts can be tiny, and some are specific to the faucet model. Losing one can delay the repair and make the process more frustrating than it needs to be. Protecting the sink surface also helps prevent scratches while you work.
This is also a good time to clear the area around the sink. Remove soap dispensers, toothbrush holders, cleaning supplies, and anything else that might get in the way. Good lighting makes a big difference, especially when working with small screws or clips. If the space under the sink is dark, use a flashlight or work light. A clean and organized workspace can turn a potentially messy repair into a manageable one.
Step 3: Identify Your Faucet Type
Different faucet types have different internal parts, so identifying your faucet type matters. Compression faucets usually have separate hot and cold handles and often rely on rubber washers to stop water flow. Cartridge faucets may have one or two handles and use a replaceable cartridge inside. Ball faucets are common in some single-handle kitchen faucets and contain a ball assembly with springs and seals. Ceramic disc faucets use ceramic cylinders and are often durable, but they can still develop leaks.
If you are not sure which type you have, start by looking at the handle design and how the faucet operates. A compression faucet usually requires you to tighten the handle down to stop water. A cartridge or ceramic disc faucet generally moves more smoothly and does not require heavy tightening. You may also be able to find the faucet brand or model number on the faucet body, under the sink, or in old installation paperwork. Knowing the type helps you choose the right replacement part and avoid guesswork.
Step 4: Remove the Handle
To reach the internal parts, you will need to remove the faucet handle. Many handles have a decorative cap that covers a screw. Carefully pry off the cap with a flathead screwdriver, then remove the screw underneath. Some modern faucets use a small set screw on the side or back of the handle, which may require an Allen wrench. Once the screw is removed, gently lift the handle off.
If the handle is stuck, avoid pulling too hard. Mineral buildup can make handles difficult to remove, especially in areas with hard water. You can try wiggling the handle gently or using a little vinegar around the base to loosen buildup. Do not use excessive force, because breaking the handle may turn a simple repair into a replacement project. Patience is a plumbing tool too, even if it is not sold in the aisle with the wrenches.
Step 5: Inspect Washers, O-Rings, and Cartridges
After removing the handle, inspect the parts inside the faucet. In a compression faucet, a worn washer is one of the most common causes of dripping. The washer sits at the bottom of the stem and presses against the valve seat to stop water flow. If the washer is cracked, flattened, brittle, or damaged, replace it with one of the same size. You should also inspect the valve seat for corrosion or mineral buildup.
In cartridge faucets, the cartridge may need to be replaced if it is worn or damaged. Remove the retaining clip or nut, then carefully pull the cartridge out. Some cartridges can be stubborn, so check whether your faucet brand recommends a cartridge puller. In ball faucets, inspect the springs, seals, and ball assembly for wear. In ceramic disc faucets, the seals beneath the cylinder may be the issue, or the disc cartridge itself may need replacement.
Step 6: Replace the Damaged Part
Once you identify the damaged part, replace it with an exact match. Washers and O-rings should be the same size and thickness as the old ones. Cartridges should match the faucet brand and model whenever possible. Apply a small amount of plumber’s grease to O-rings or moving parts if recommended, as this can help the parts move smoothly and seal properly. Avoid using too much grease, because a little usually goes a long way.
If mineral buildup is present, clean the affected parts before reassembly. Soaking parts in white vinegar can help dissolve deposits. Use a soft cloth or an old toothbrush to gently remove buildup without damaging the parts. If the valve seat is badly corroded, replacing only the washer may not stop the leak. In that case, the valve seat may need to be cleaned, resurfaced, or replaced.
Step 7: Reassemble the Faucet
After replacing the damaged part, reassemble the faucet in the reverse order you took it apart. Make sure clips, nuts, screws, and handles are positioned correctly. Tighten parts securely, but do not overtighten them. Overtightening can damage seals, crack components, or make the faucet harder to operate. This is especially important with plastic or delicate internal parts.
Once the handle is back on, make sure it moves smoothly. If something feels stiff, uneven, or loose, stop and double-check the assembly. It is better to correct the issue now than to turn the water back on and discover a new leak. Use your photos or notes if you took them during disassembly. Careful reassembly helps ensure the repair lasts.
Step 8: Turn the Water Back On and Test
Slowly turn the water supply valves back on under the sink. Watch the faucet and the area beneath the sink as the water begins flowing again. Turn the faucet on and off several times to test the repair. Check for dripping from the spout, leaking around the handle, and moisture under the sink. If everything stays dry and quiet, congratulations, you have likely fixed the drip.
If the faucet still drips, the issue may involve another worn part, an incorrect replacement, or damage deeper inside the faucet. Sometimes a faucet has multiple worn components, especially if it is older. A persistent leak can also point to corrosion, water pressure issues, or a fixture that is ready for replacement. At that point, calling a plumber can save time and prevent additional damage. There is no shame in calling in help, especially when the faucet has clearly decided to be dramatic.
When Should You Call a Professional Plumber?
While many dripping faucet repairs are manageable, some situations call for professional help. If you cannot identify the faucet type, cannot remove a stuck part, or cannot shut off the water, it is safer to contact a plumber. You should also call a professional if water is leaking under the sink, around the supply lines, or from the shutoff valves. These leaks can cause cabinet damage, flooring issues, mold growth, and other problems if left untreated. A professional plumber can diagnose the issue quickly and make sure the repair is done correctly.
You may also want expert help if your faucet is older or if replacement parts are difficult to find. Sometimes replacing the faucet is more cost-effective than continuing to repair worn parts. A plumber can help you choose a reliable replacement and install it properly. This is especially helpful if you are upgrading to a high-quality faucet from brands like Delta, Kohler, or Moen. Professional installation can help prevent leaks and extend the life of your fixture.
Tips to Prevent Future Faucet Drips
Preventive maintenance can help your faucets last longer and reduce the risk of future leaks. Avoid turning faucet handles too tightly, especially on compression faucets. Excessive force can wear out washers faster and damage internal parts. If you notice a handle becoming stiff, loose, or squeaky, address it early before it becomes a bigger problem. Small maintenance steps can go a long way toward keeping your plumbing in good condition.
Helpful prevention tips include:
- Fix small leaks as soon as you notice them.
- Clean mineral buildup from faucet aerators and handles.
- Avoid using excessive force when turning handles.
- Replace worn washers, O-rings, and cartridges promptly.
- Schedule plumbing maintenance if your home has older fixtures.
- Consider upgrading outdated faucets with durable, efficient models.
Hard water can also contribute to faucet issues. Minerals may build up inside fixtures, clog aerators, and wear down seals. If your home has ongoing hard water problems, ask a plumber whether a water treatment solution might help. Keeping your plumbing system maintained can improve performance and reduce repair needs. It can also help your fixtures look and work better over time.
FAQ
What is the most common cause of a dripping faucet?
The most common cause is a worn washer, O-ring, seal, or cartridge. These parts wear down over time and stop creating a tight seal. Once that happens, water can continue escaping even when the faucet is turned off.
Can I fix a dripping faucet myself?
Yes, many dripping faucets can be fixed with basic tools and the right replacement parts. However, you should call a plumber if the faucet is badly corroded, parts are stuck, water is leaking under the sink, or you cannot shut off the water safely.
How much water can a dripping faucet waste?
Even a slow drip can waste a surprising amount of water over time. The exact amount depends on the speed of the drip, but the waste can add up quickly. Fixing the issue early helps reduce unnecessary water use and may help lower your utility bill.
Why does my faucet still drip after replacing the washer?
If the faucet still drips, the valve seat may be corroded, the replacement washer may be the wrong size, or another part may also be worn. Cartridge, seal, or O-ring issues can also cause continued leaking. A plumber can inspect the faucet and identify the remaining problem.
Is it better to repair or replace a dripping faucet?
It depends on the faucet’s age, condition, and the cost of replacement parts. A newer faucet with a simple worn part is often worth repairing. An older faucet with corrosion, repeated leaks, or hard-to-find parts may be better replaced.
Do I need a plumber for a small faucet drip?
Not always, but calling a plumber is a smart choice if you are unsure about the repair or if the leak keeps returning. Small drips can point to larger plumbing issues in some cases. Professional service gives you peace of mind and helps prevent damage.
Call Lance Maxwell Plumbing for Faucet Repair in Jacksonville and Orange Park
A dripping faucet may start as a small nuisance, but it can become a bigger problem if ignored. Whether you need help repairing a leak, replacing a faucet, installing a water heater, or scheduling preventive maintenance, we are ready to help. As your trusted Jacksonville plumber, we have more than 31 years of experience serving the Jacksonville and Orange Park areas with dependable plumbing installation and repair services. Our friendly and knowledgeable staff is committed to doing whatever it takes to ensure every customer’s needs are met. With on-call 24/7 availability, you can count on our team to resolve plumbing issues day or night. We also offer high-quality plumbing products from trusted brands like Delta, Kohler, and Moen, giving you reliable options for lasting performance. Contact us today, and one of our representatives will be glad to assist you with your plumbing needs.